The Northern Lights is one of the most famous and spectacular natural phenomenon, when you decide to visit a place where it displays taking pictures can be a great way to fix that moment in your memory. Many photographers think an extremely pricy equipment is mandatory to photograph the Northern Lights, this is untrue. Photographing Aurora Borealis is actually easier, technically speaking, than capture the Milky Way. The light emitted by the Milky Way is much lower than a normal intensity Aurora, this allows you to capture it even a not-so-crazy ISO and without really fast and expensive lenses. Of course, if your intent is to take serious photographs, as a professional or serious amateur, go for quality fast lenses and great ISO performing camera bodies. I’ve used my D800 (2012 – 4 years old body) and the Samyang 14mm f/2.8 during my last trip in Iceland. Today I would use the Nikon 20mm f/1.8 I didn’t have at time.
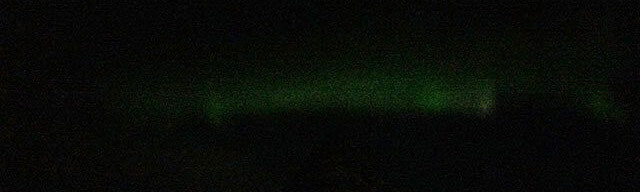
The image you see below is not totally black, you can see an hint of green, and that’s the Aurora. A not-so-strong Northern Lights display, catched with an iPhone 5S. If a 2013 phone can catch something, hand held, probably your camera on a tripod has more than few chances.
Basic requirements for equipment
The tripod is a must-have, even with a professional camera you’ll get unsatisfatory results shooting hand held. You’ll need a tripod because we want to shoot for, at least, few seconds to be able to capture more light. For this reason your camera must have the option to choose the shutter speed, around 15 seconds is good. Of course every DSLR and good mirrorless have this option today, but maybe you only have a point and shoot. In this case you can’t achieve much, but you still have some options, search for “Night mode” or maybe a scene called “Fireworks”. These semi-automated settings will tell the camera you’re trying to catch something in really low light and it will compensate accordingly.
Focusing
Getting the right focusing is important, but tricky at night. The autofocus will probably go bananas, because no strong lights are available as reference. Better go in manual. The trick is always focus to infinity, this is fine for *any* shot, of course if you adding really close elements in foreground you need to use more advanced techniques, but this is not the aim of this guide. The problem with focusing to infinity is the focus scale on the lens, is not reliable. Also some lenses don’t have it, like the basic 18-55 mm. You must know your lens, try focusing, with auto focus, to a far distant object before you go out for the Northern Lights. When you know the exact position for infinity, add 2 small sign on the lens and on the ring, so you can easily find the right alignment on the field. If you want an alternative way try with bright elements: far city lights, a really bright star (for the more advanced DSLR) and even your car lights from few meters away (about 10 metres / 30 feet). You can focus, manually, with the help of these elements and the Live View, check if you can zoom the preview during the focus to help. When focusing a far light aim to get the smallest dot, when the light appear to be smaller is in focus.
Shooting
Lock your camera on the tripod and shoot for about 15 seconds, use the lowest f number available and set the ISO at least to 1600. If your lens has a f number higher than 2.8 compensate with the ISO. If you have a lens with a smaller minimum aperture (usually f/3.5) try increasing the ISO, around 2500 or 3200. Don’t increase the shutter speed above 30″, the Northern Lights is a moving phenomenon, if you expose for too long you’ll get a green blurred image. Not really attractive. An example with an entry-level DSLR similar to Nikon D5xxx or Canon 650/700/750/100d with 18-55 f/3.5-5.6 lens can be: 18mm with APS-C sensor, f/3.5, 15 seconds and ISO 2500. With this settings, on a tripod, you will be able to catch the Northern Lights, keeping a satisfactory quality with a recent camera.
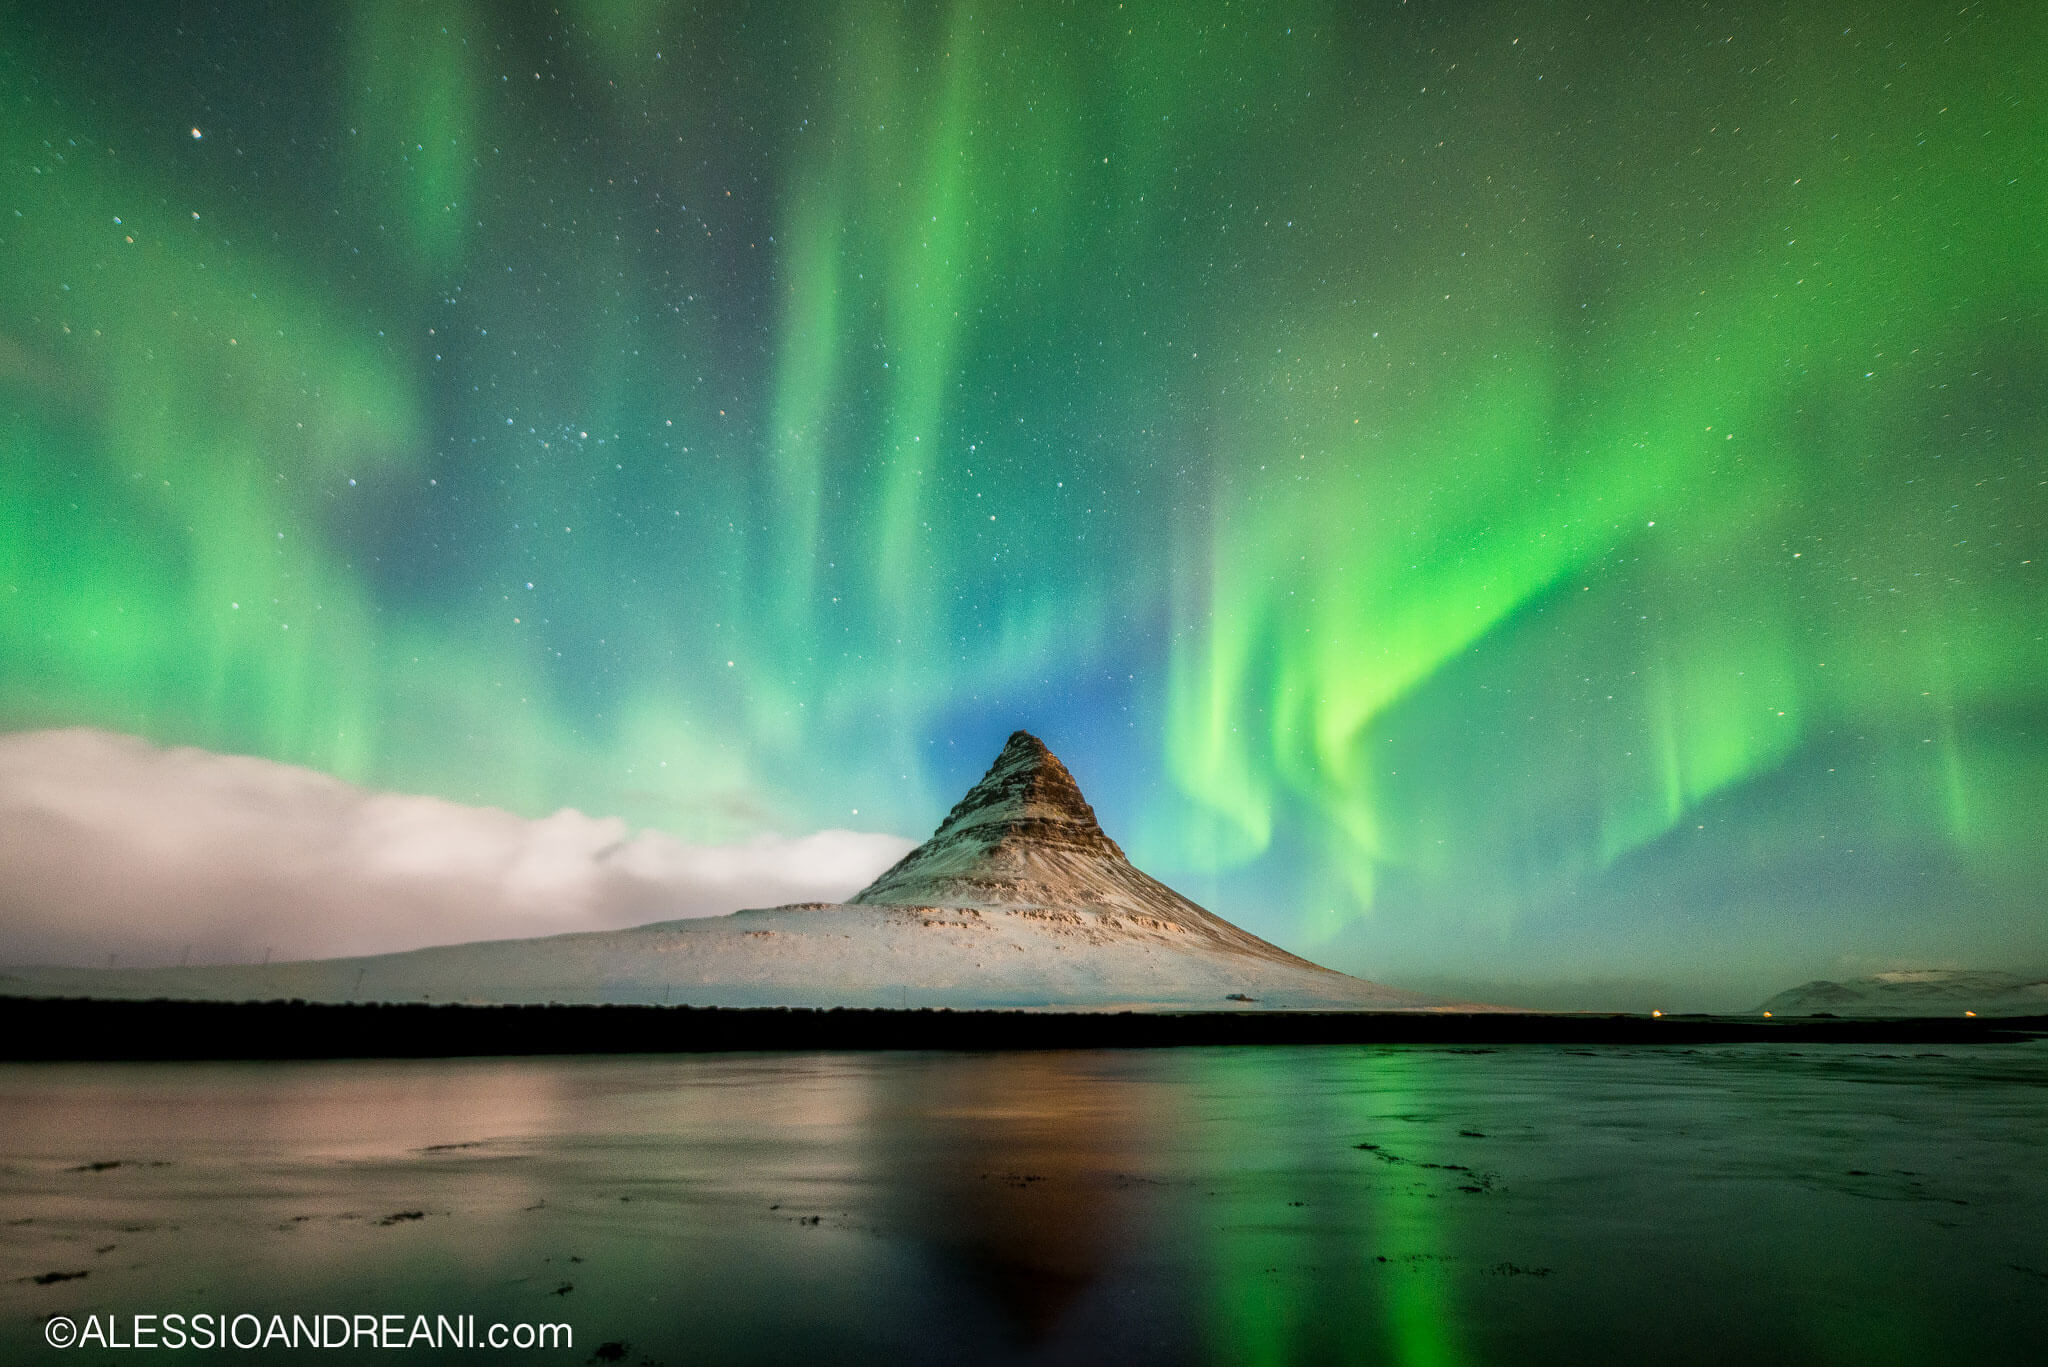
The shot above has been taken with a Nikon D800 and Samyang 14mm f/2.8@2.8, 14mm, 15″ and ISO 2500. The shape of the Northern Lights was really important, with a longer shutter speed I would have lost the shape and the the little clear spot just on top of the mountain.
Post-production of Northern Lights photos
Of course we’re shooting RAW, isn’t it? Good, it’s time to import your photos and do a bit of post processing. We want to ‘pull’ out all the information we can from the RAW file and at the same time not spend hours on Photoshop. I prefer starting with Lightroom, and for most situation we can even do everything we need with it. Without much effort with time-consuming techniques you should focus to get the best from basic, but essential, corrections. It’s really important to get the right White Balance and Tint, with the WB we aim to reduce some blue cast from the scene, also slightly warming the scene will increase the green presence, and also the Northern Lights. Use a white / grey spot of the image (maybe snow, water, etc.) to remain on track with white balance, we don’t want too much colour cast in those areas. Some cast is fine, it’s night with a green light after all! With the tint you can manage the magenta / green cast of the image, try moving it slightly to the green, but don’t overdo.

In this shot the Northern Lights were quite far and weak, the camera caught more than I could see by naked eye. The settings are a bit different from the earlier shot: 14mm, f/2.8, 30 seconds and ISO 4000. I had to use an higher ISO and shutter speed to catch the weak Aurora. In post-production I’ve slightly enhanced the green just using WB and tint. Also, using the Shadows / Lights controls in LR I’ve recovered those areas and added contrast with the curves. My last tip is ‘take your time’, most probably you’ll be amazed from this incredible phenomenon, enjoy the show, put your tripod down, find a good composition, focus to infinity, do a test shot and then check the focus. Follow these steps in order and correct the exposure starting from the test shot, check the focus often to be sure everything is sharp.